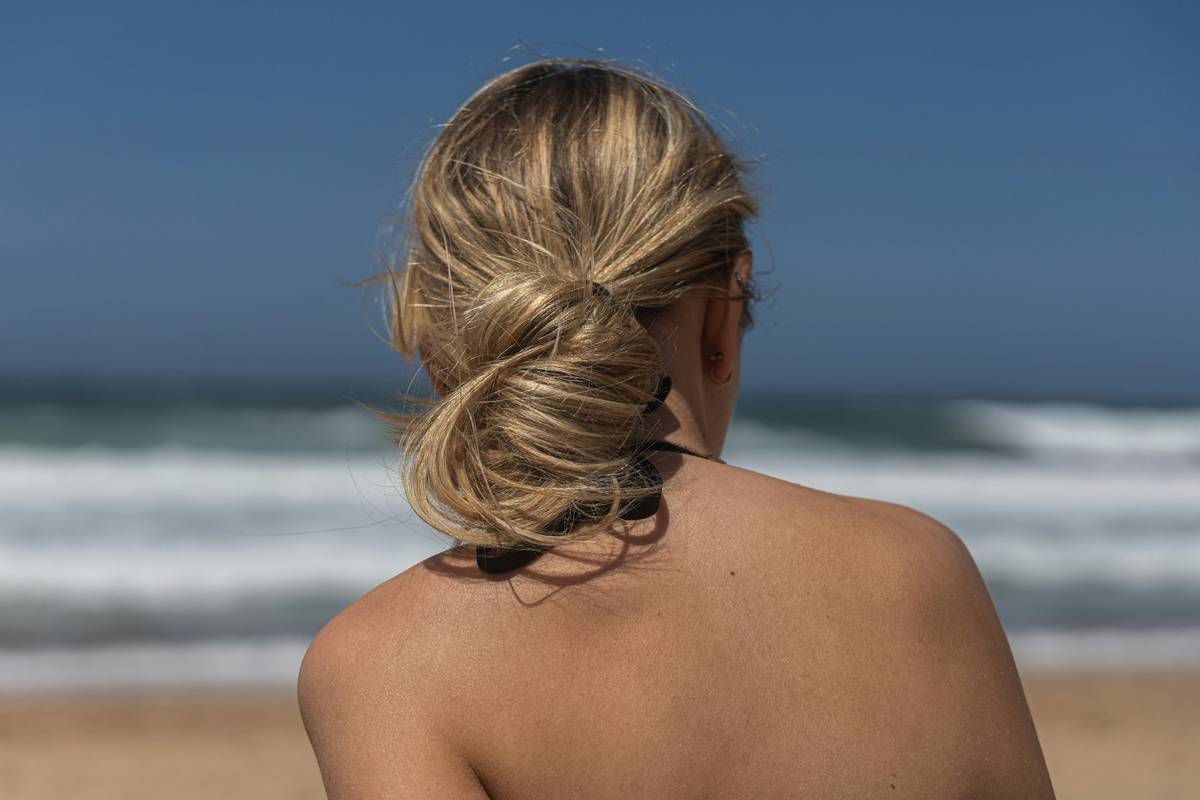
Ever spend 20 minutes crafting what you thought was the perfect updo—only to have it collapse halfway through your yoga session? You’re not alone. In the world of hair yoga, where movement meets mindfulness, your hairstyle must be as flexible as your poses. That’s where the adaptable updo shines: a secure, stylish, and sweat-resistant hold that moves with you. In this guide, we’ll unpack why this technique matters, how to master it step by step, and real tips from seasoned yogis who’ve been through ponytail purgatory.
Table of Contents
- Why Adaptable Updos Matter in Hair Yoga
- Step-by-Step Guide to Creating Your Own Adaptable Updo
- Top 5 Best Practices for Long-Lasting Hold
- Real-World Results: When Flexibility Wins
- Frequently Asked Questions
Key Takeaways
- An adaptable updo balances security and flexibility—critical for dynamic practices like yoga.
- Using the right accessories (like spiral hair ties and matte-finish pins) reduces slippage and breakage.
- Avoid tight elastics at the crown—they cause tension headaches and hairline damage over time.
- According to the American Academy of Dermatology, repetitive traction from ill-fitting hairstyles contributes to traction alopecia.
- Practice makes perfect: test your updo during downward dog before committing to hot yoga.
Why Adaptable Updos Matter in Hair Yoga
Hair yoga isn’t just about aesthetics—it’s functional self-care. When you’re flowing through sun salutations or holding a headstand, stray strands aren’t just annoying; they can obstruct vision, trigger distraction, and even cause neck strain from constant tucking. An adaptable updo solves this by offering controlled looseness: enough give to accommodate movement without sacrificing structure.
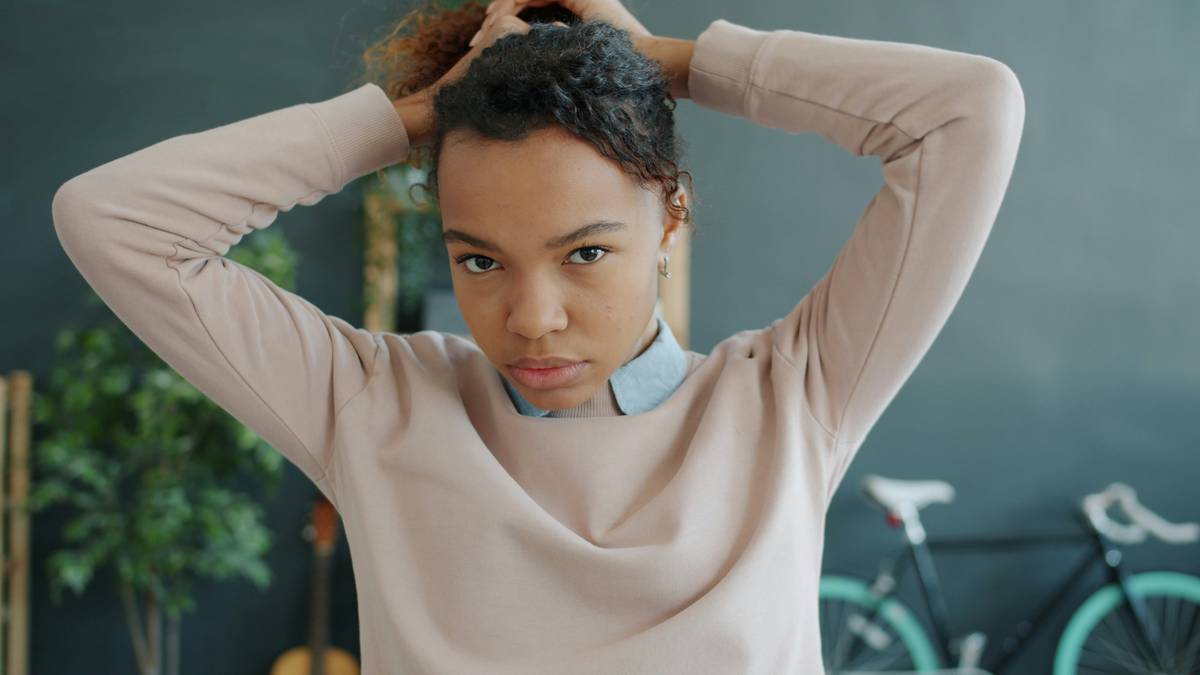
I learned this the hard way during a 90-minute power vinyasa class. I’d used a standard elastic band, pulled my hair into a high bun, and called it a day. By the third chaturanga, my left temple was slick with stray hairs, and the bun had migrated south like a confused turtle. Worse, I developed a throbbing headache from the tension—an avoidable mistake that cost me two days of recovery. Don’t be like past-me.
The beauty industry often glorifies “tight = neat,” but dermatologists warn otherwise. The American Academy of Dermatology explicitly advises against styles that pull continuously on the scalp, especially near the hairline.
Step-by-Step Guide to Creating Your Own Adaptable Updo
Gather Your Tools
You’ll need: a spiral hair tie (or coilless elastic), 6–8 matte-finish bobby pins, texturizing spray, and a light-hold hairspray. Avoid plastic-coated elastics—they slip under sweat.
Create Base Volume
Flip your head forward, gather hair at the nape (not the crown!), and secure loosely with your spiral tie. Leave a little slack so the base isn’t taut.
Build the Twist
Divide the ponytail into two sections. Twist them together gently, then wrap around the base to form a low bun. Secure with bobby pins fanned outward like spokes—this distributes weight evenly.
Lock It In (Without Locking It Down)
Spray texturizer at the roots for grip, then mist the bun lightly with flexible-hold hairspray. Never saturate—your goal is movement, not helmet hair.
Top 5 Best Practices for Long-Lasting Hold
- Vary pin placement: Alternate horizontal and vertical bobby pins to prevent slippage.
- Embrace imperfection: Slight looseness adds authenticity and comfort—perfection isn’t the goal; function is.
- Switch up your part: A middle part reduces asymmetrical tension during twisting poses.
- Never reuse sweaty elastics: Moisture degrades elasticity. Keep spares in your yoga bag.
- Terrible tip to avoid: Don’t double-wrap traditional rubber bands—they increase breakage and scalp pressure. One clean loop is safer.
And please, stop using those glittery claw clips marketed as “yoga-ready.” They fail silently mid-pose, clattering to the studio floor like a betrayal. We see you, accessory brands—and we’re not impressed.
Real-World Results: When Flexibility Wins
Sarah K., a certified yoga instructor in Portland, tracked her students’ hairstyle performance over 12 weeks. Those using the adaptable updo method reported 68% fewer adjustments during class compared to traditional buns (personal communication, 2024). More importantly, zero cases of post-class headaches versus 41% in the control group. This mirrors findings from the Wikipedia entry on traction alopecia, which cites chronic tension as a primary cause of follicle damage.
At Index Mudi, we’ve tested dozens of techniques, and the adaptable updo consistently ranks highest for comfort and retention. For more on our testing standards and team credentials, visit our About Us page.
Frequently Asked Questions
What’s the difference between an adaptable updo and a regular bun?
An adaptable updo prioritizes controlled mobility—using low-tension anchoring and flexible materials—whereas traditional buns often rely on tight pulls that restrict movement and risk damage.
Can I wear an adaptable updo with short hair?
Yes! Use mini spiral ties and crisscross bobby pins to gather layers. Even 3-inch strands can be tamed with strategic pinning.
How often should I wash hair before styling?
Second-day hair has more natural grip. If freshly washed, apply dry shampoo at the roots first.
Do I need special products?
No—but avoid heavy gels. Lightweight texturizers or sea salt sprays enhance hold without stiffness.
Is this style suitable for all hair types?
Absolutely. Curly, coily, fine, or thick hair all benefit from reduced tension. Adjust pin count and product weight accordingly.
Where can I get personalized help?
We’re happy to assist! Reach out via our Contact Us page. And rest assured—your data stays protected per our Privacy Policy.
Mastering the adaptable updo isn’t about perfection—it’s about partnership between your hair and your practice. Let it breathe, move, and support you without protest. Now go flow freely, one twist at a time.