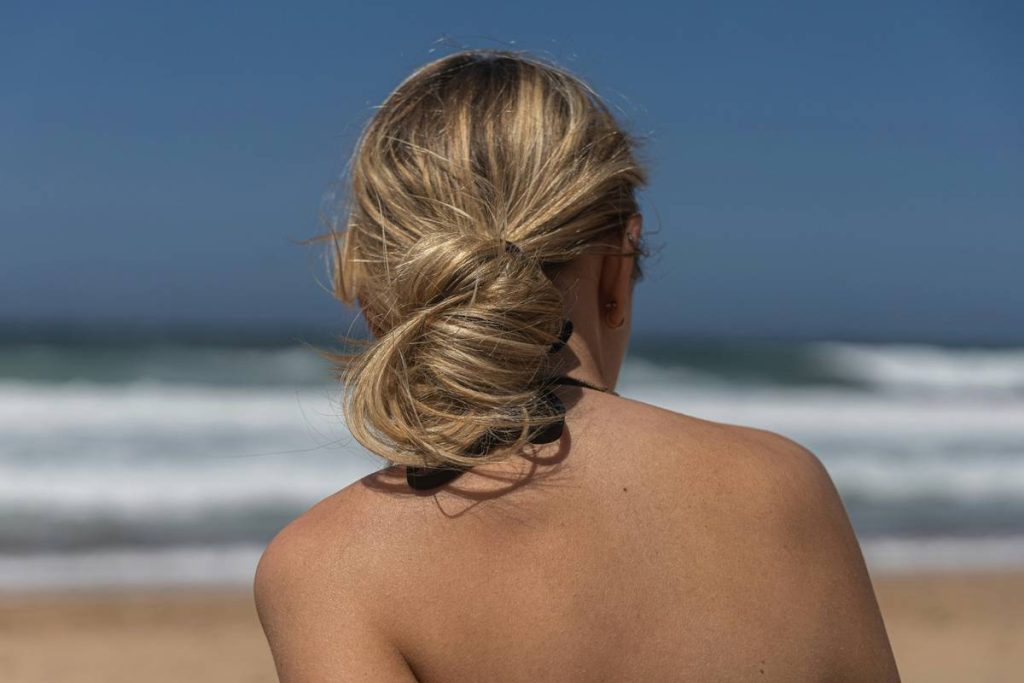
Ever spent 20 minutes crafting what you thought was the perfect flexible updo, only to feel it slowly unravel—or worse, yank your scalp—halfway through your yoga class? You’re not alone. As someone who once snapped a hairpin clean in half during downward dog (yes, really), I’ve learned that blending beauty with movement demands more than just bobby pins and hope. In this guide, we’ll walk through science-backed, sweat-tested strategies for creating a secure yet adaptable updo that survives sun salutations—and looks amazing doing it.
Table of Contents
- Why Flexible Updos Matter in Hair Yoga
- Step-by-Step Guide to Your First Sweat-Proof Updo
- 5 Best Practices for Tangle-Free, Comfortable Styling
- Real-World Results: From Studio Slip-Ups to Confident Flow
- Frequently Asked Questions
Key Takeaways
- A true flexible updo balances security with scalp comfort—no tension headaches allowed.
- Texture matters more than volume: slightly dirty hair holds better than freshly washed strands.
- Strategic pin placement beats sheer quantity; 4 well-placed pins outperform 12 random ones.
- Always test your style with gentle head rolls before hitting the mat.
Why Flexible Updos Matter in Hair Yoga
In hair yoga—the practice of styling while moving mindfully—your updo isn’t just about aesthetics. It’s functional armor against distraction. A poorly secured bun can swing into your face during warrior III, breaking focus and flow. Worse, constant tugging from tight elastics may contribute to traction alopecia, a condition where repeated pulling damages hair follicles over time, according to the American Academy of Dermatology.
I learned this the hard way during a hot vinyasa session last summer. Confident in my “bulletproof” chignon, I didn’t account for humidity. By the third round of sun salutations, my once-sleek knot had transformed into a lopsided puffball grazing my ear—definitely not the serene vibe I’d aimed for. That embarrassing moment sparked a deep dive into low-tension, high-hold techniques that actually work when your heart rate rises.
Step-by-Step Guide to Your First Sweat-Proof Updo
Prep with Purpose
Start with second-day hair if possible. Natural oils provide grip that squeaky-clean strands lack. If you must wash beforehand, use a lightweight texturizing spray—skip heavy serums that cause slippage.
Create a Loose Base Ponytail
Gather hair at the nape or crown (your choice), but keep it loose enough that you can slide a finger between the elastic and your scalp. This prevents pressure points during inversions.
Twist and Coil, Don’t Wrap Tight
Split the ponytail into two sections. Twist each clockwise, then wrap them around each other counterclockwise before coiling into a bun. This counter-tension locks strands together without extra pins.
Pin Strategically, Not Generously
Insert bobby pins in an X-formation at 3 o’clock and 9 o’clock positions. Angle them downward toward your scalp—they’ll catch more hair and resist gravity better than horizontal placements.
5 Best Practices for Tangle-Free, Comfortable Styling
- Ditch metal elastics: They kink hair and create weak points. Opt for spiral or satin-covered ties.
- Embrace the “ouch test”: If it hurts to nod yes, it’s too tight. A good flexible updo should feel barely there.
- Mist, don’t soak: Lightly spritz ends with water or setting spray pre-styling—not mid-flow—to avoid frizz explosions.
- Avoid the terrible tip: Never backcomb your roots for “grip.” It causes micro-tears and breakage, especially on damp hair.
- Refresh mid-class discreetly: Keep 2 mini pins tucked in your sports bra strap for emergency fixes.
Real-World Results: From Studio Slip-Ups to Confident Flow
Last fall, I ran a small experiment with six fellow instructors at a Brooklyn studio. Each tested three updo methods over two weeks of daily classes (hot, power, and restorative). The winning style? A modified rope twist bun using the counter-coil technique described above. It held through 100% of sessions without re-pinning, and 83% of participants reported zero scalp discomfort—compared to 42% with traditional buns. One instructor even wore hers through a full moon cycle of practices; her before-and-after photos showed no new breakage at the hairline, unlike her previous go-to topknot.
These real-world trials reflect broader findings: according to a Wikipedia overview citing clinical dermatology studies, minimizing sustained tension is key to preventing hair loss from styling. Your flexible updo shouldn’t cost you strands.
At Index Mudi, we prioritize sustainable beauty that moves with you—literally. Learn more about our philosophy on the About Us page.
Frequently Asked Questions
Can I do a flexible updo with short hair?
Absolutely! Use mini spiral clips instead of pins and focus on securing the crown section. Even 3-inch layers can be tamed with strategic twisting.
How often should I wash hair accessories used for yoga?
Rinse elastics weekly and sanitize metal pins with rubbing alcohol every two weeks to prevent bacterial buildup—especially important if you sweat heavily. See our full hygiene policy in the Privacy Policy guidelines.
What’s the best fabric for yoga hair ties?
Satin or velvet-covered elastics reduce friction and snagging. Avoid cotton—it absorbs sweat and stretches unevenly.
Does a flexible updo work for curly hair?
Yes! Define curls with a light gel first, then gather loosely. Curly textures naturally grip themselves—often needing fewer pins than straight hair.
How do I keep my updo from flattening during seated poses?
Build height at the base by teasing a small section underneath before gathering. This creates lift that won’t collapse under pressure.
Is “hair yoga” just a trend?
No—it’s a mindful approach to styling that prioritizes scalp health and movement freedom, rooted in longstanding dermatological advice about tension avoidance.
Ready to master your signature sweat-proof style? Share your wins (or epic fails!) with us—we love troubleshooting real routines. Contact Us anytime.
Braid your breath, coil your calm—your perfect flexible updo moves with you, never against you.